WARNING

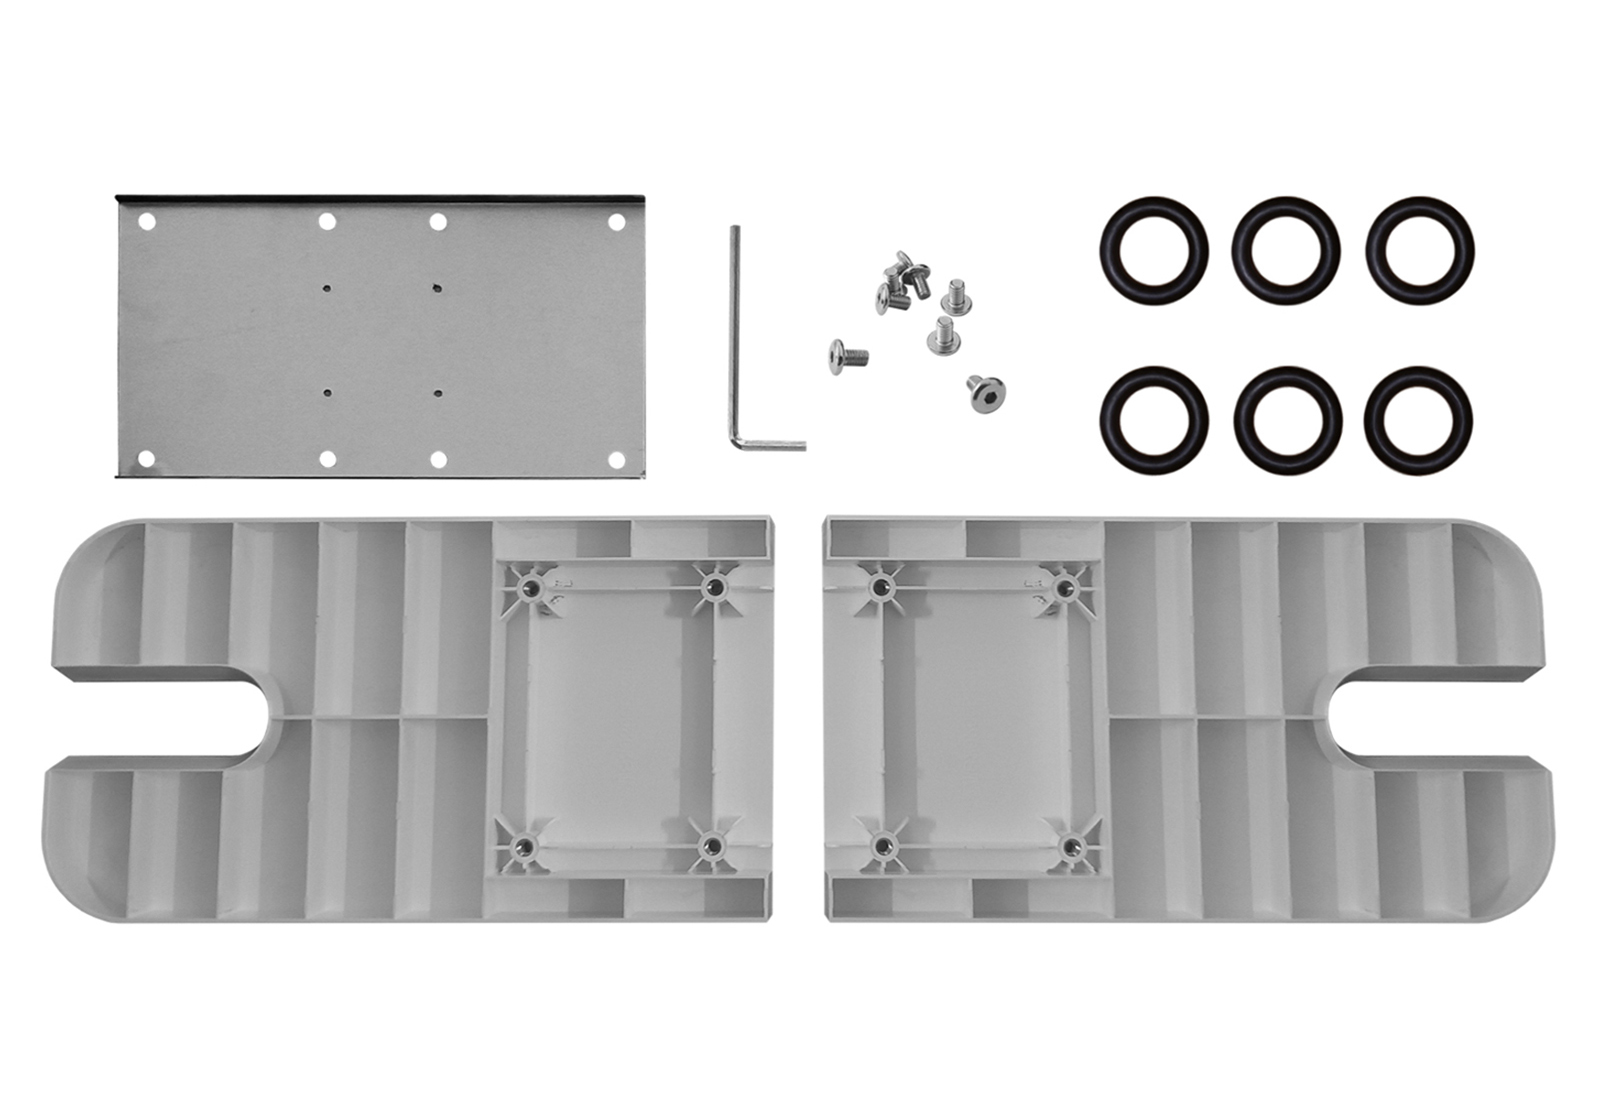
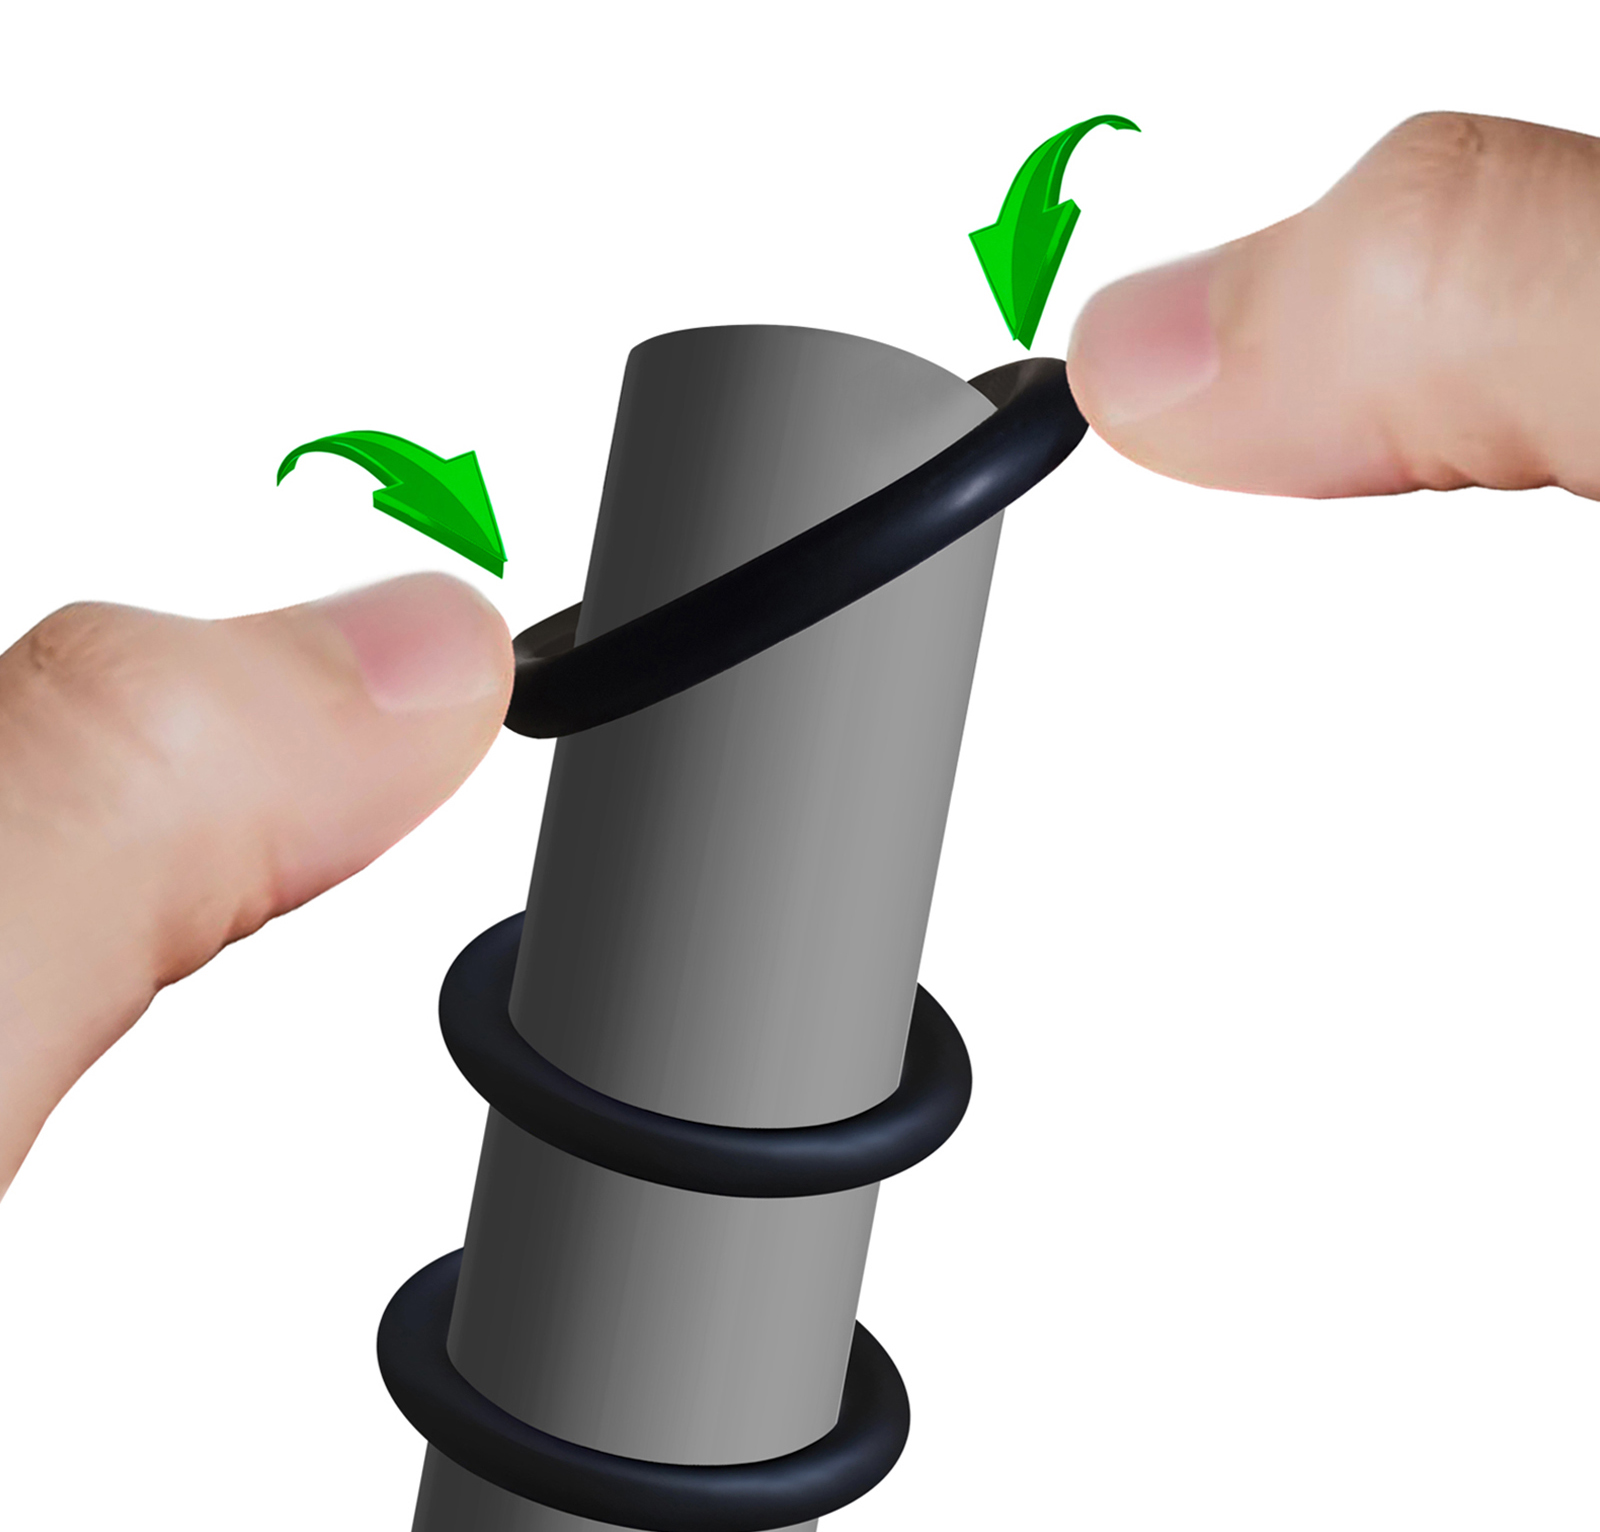
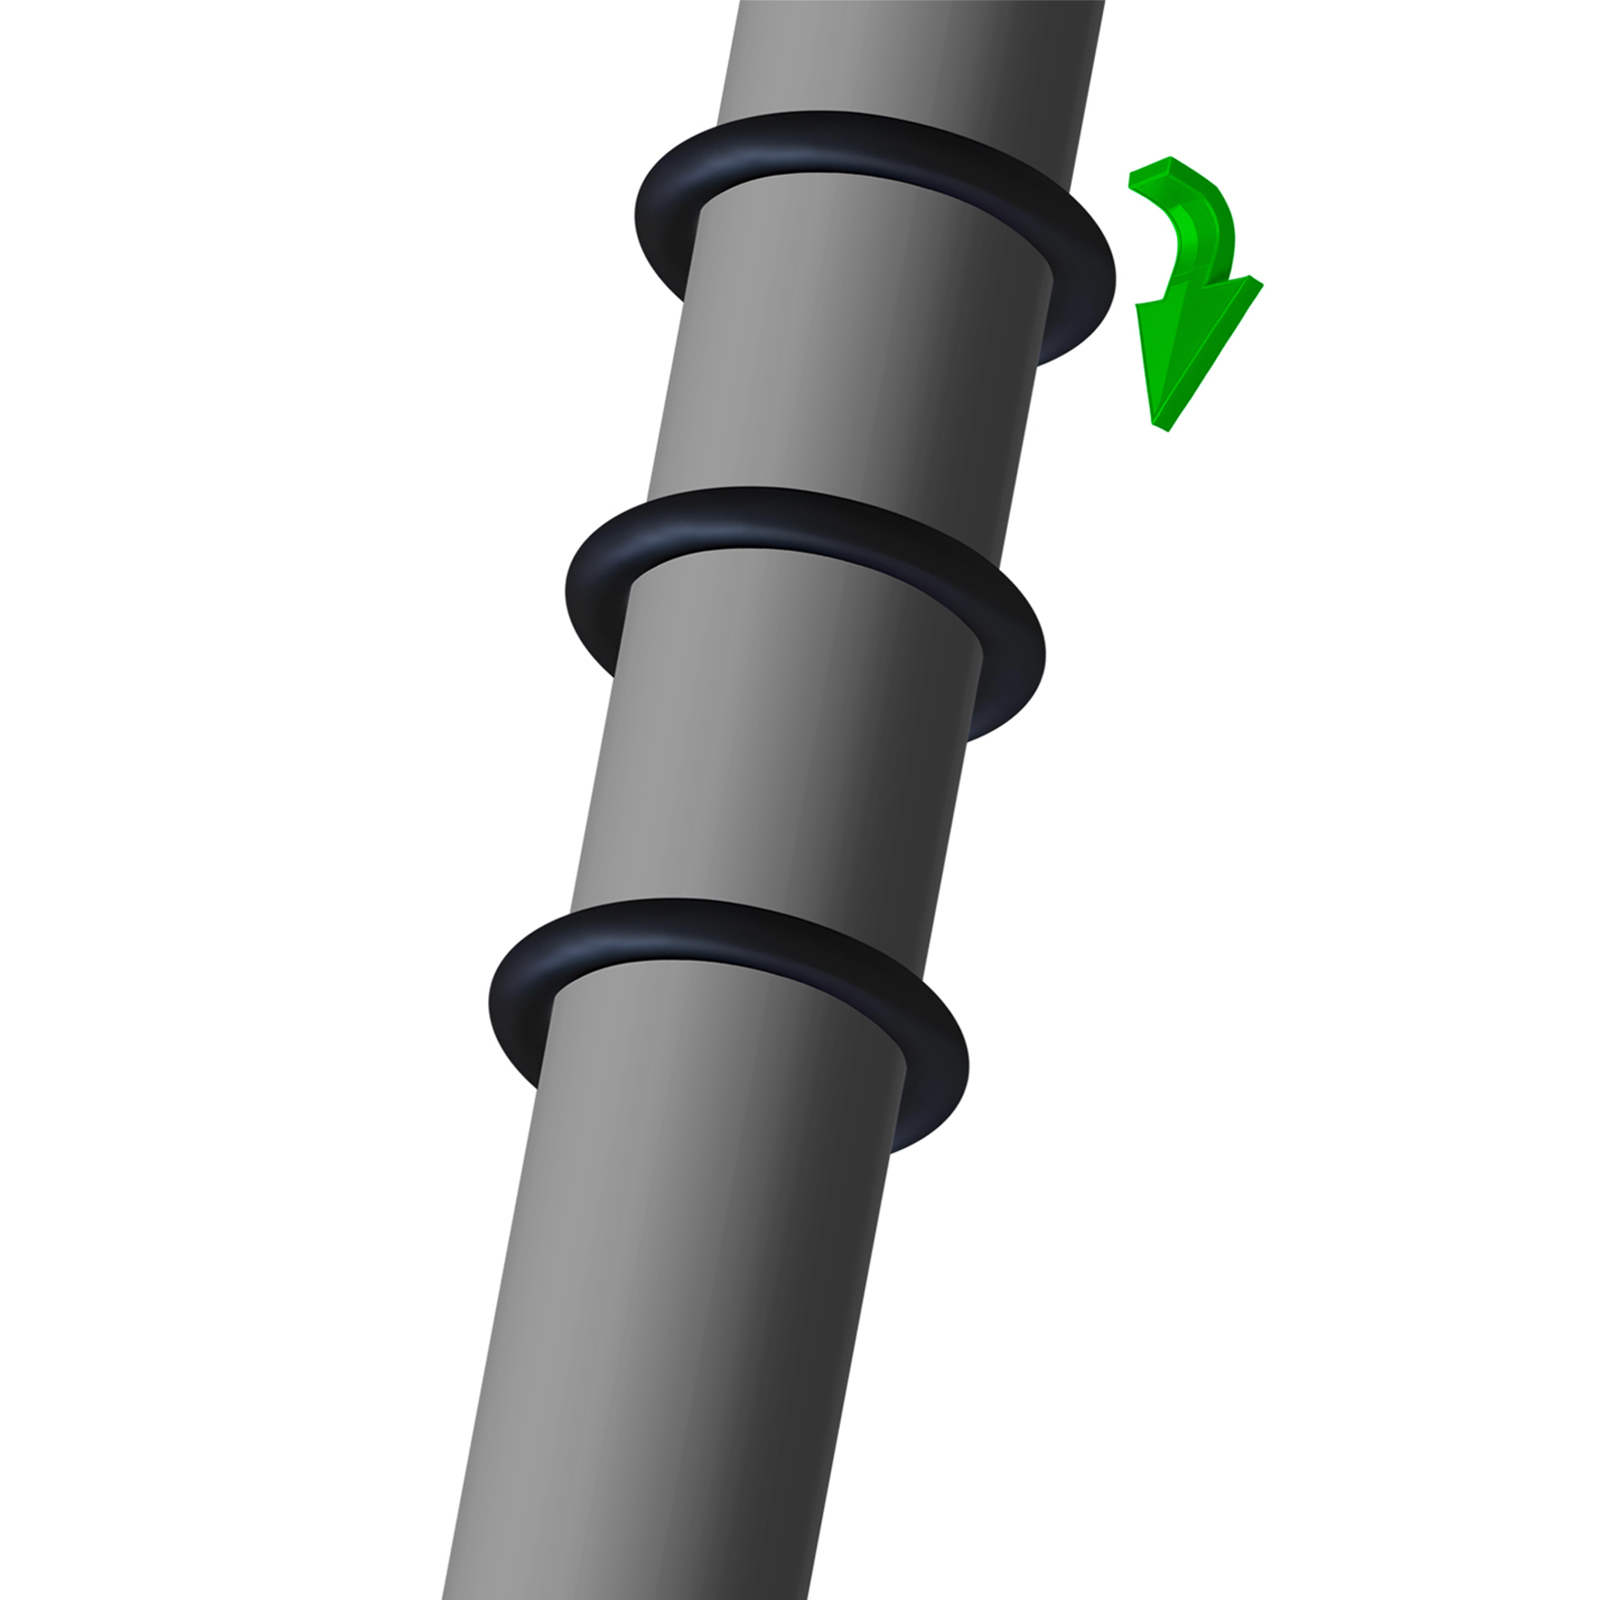
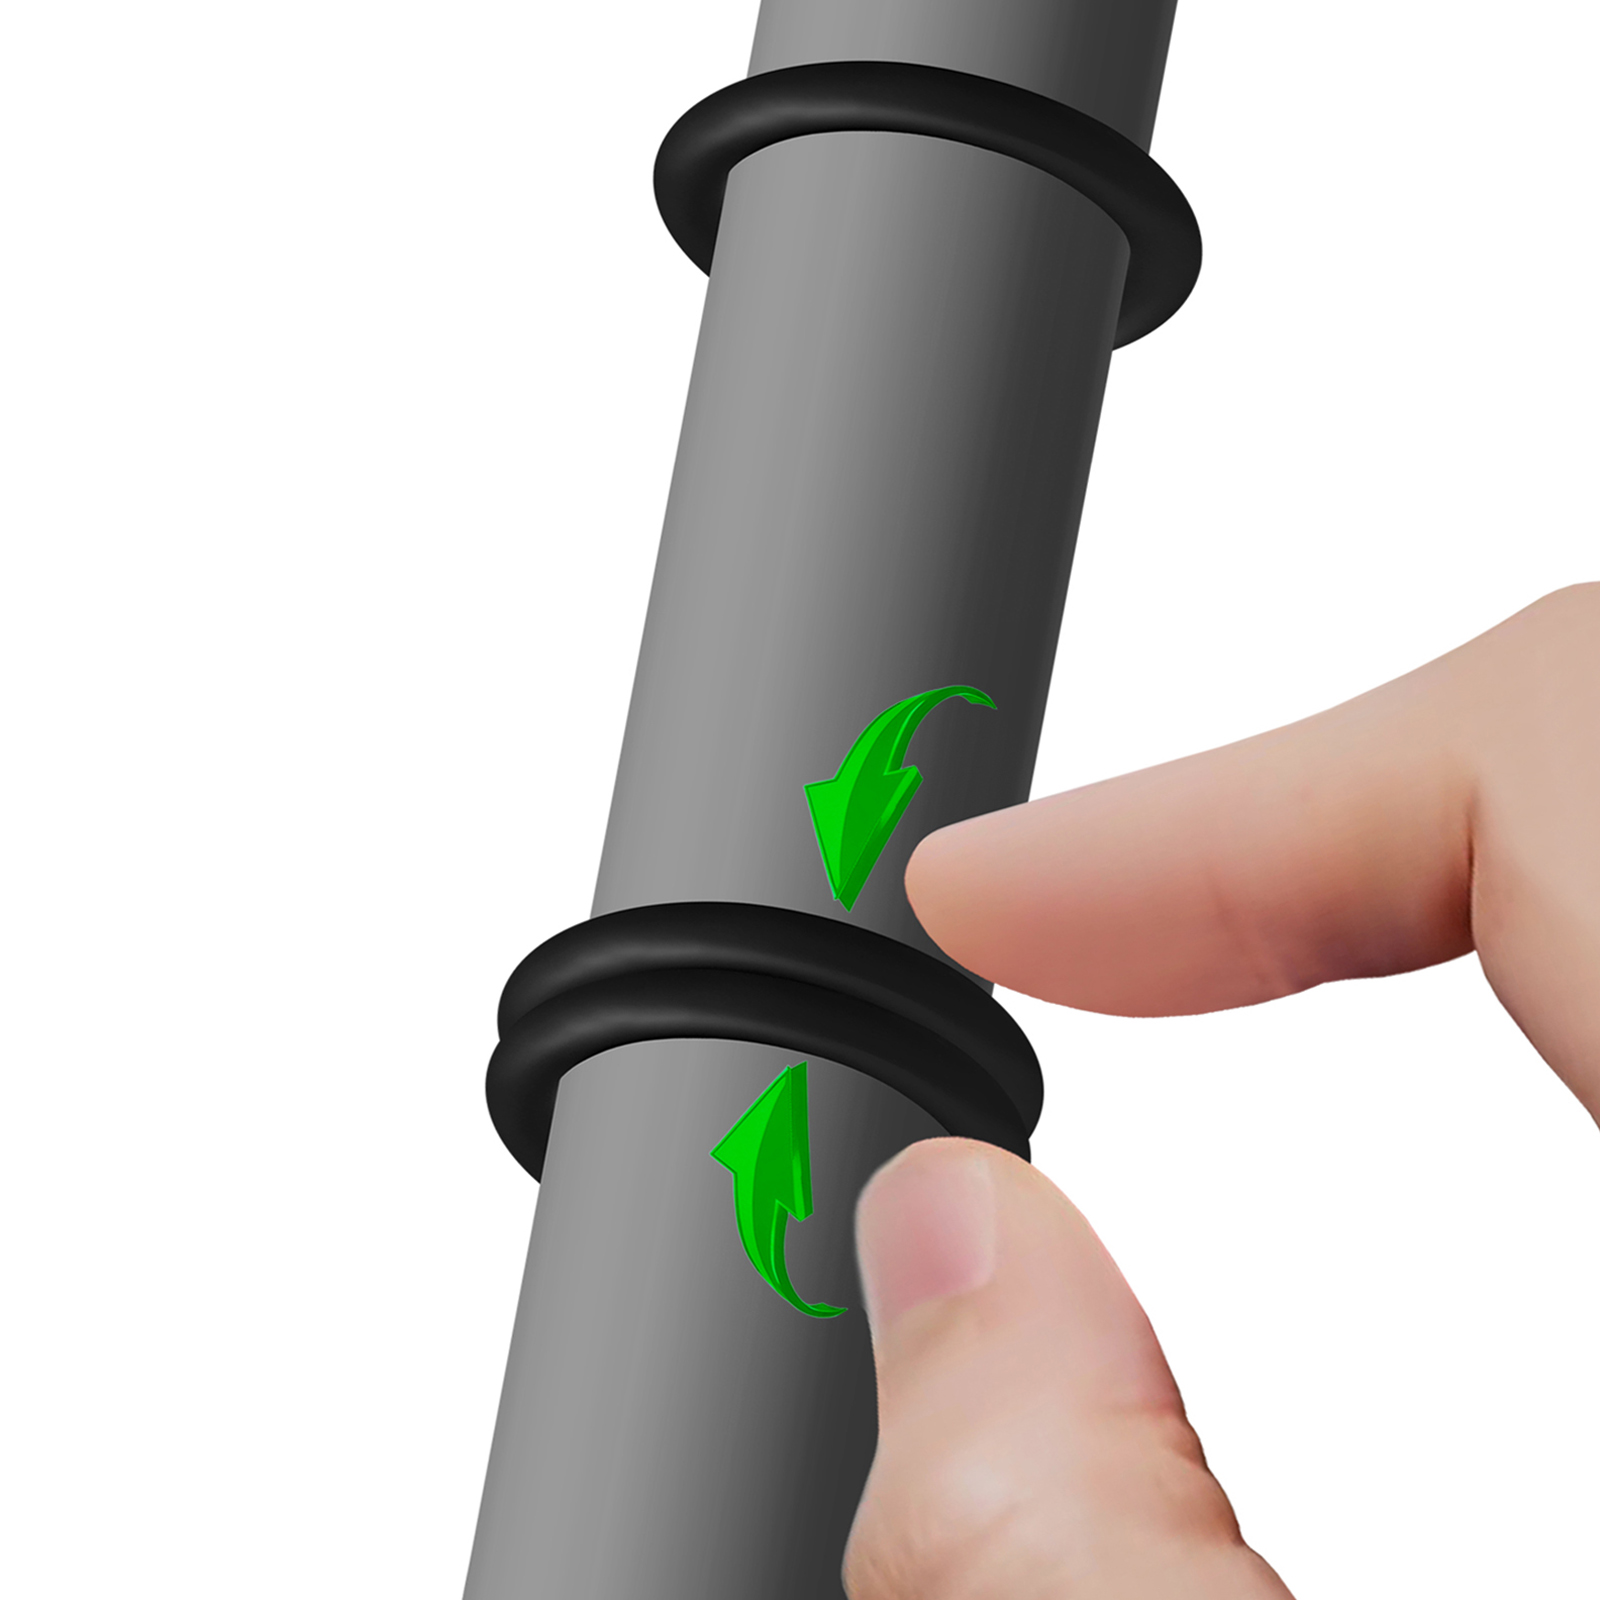
O-rings and screws for installation are not toys. When not in use, keep them out of reach of children to prevent choking hazards.
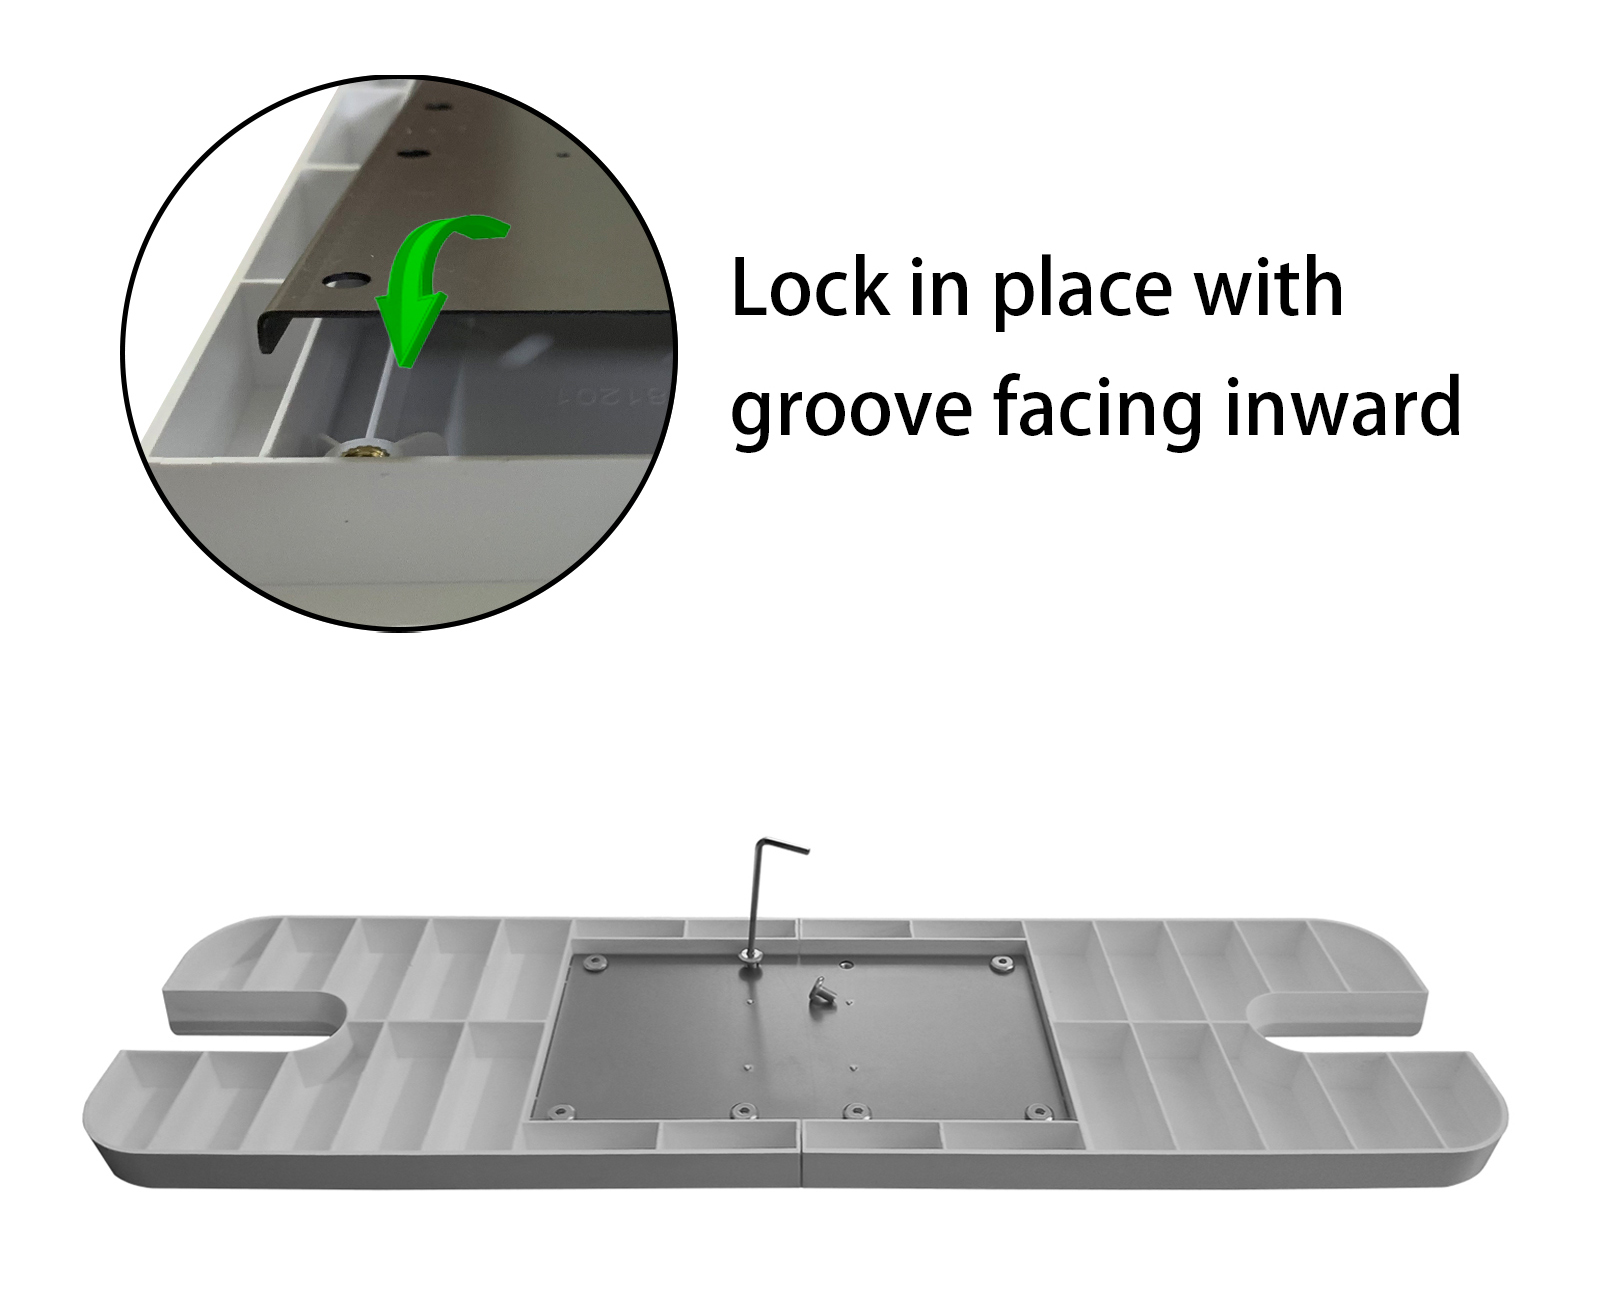
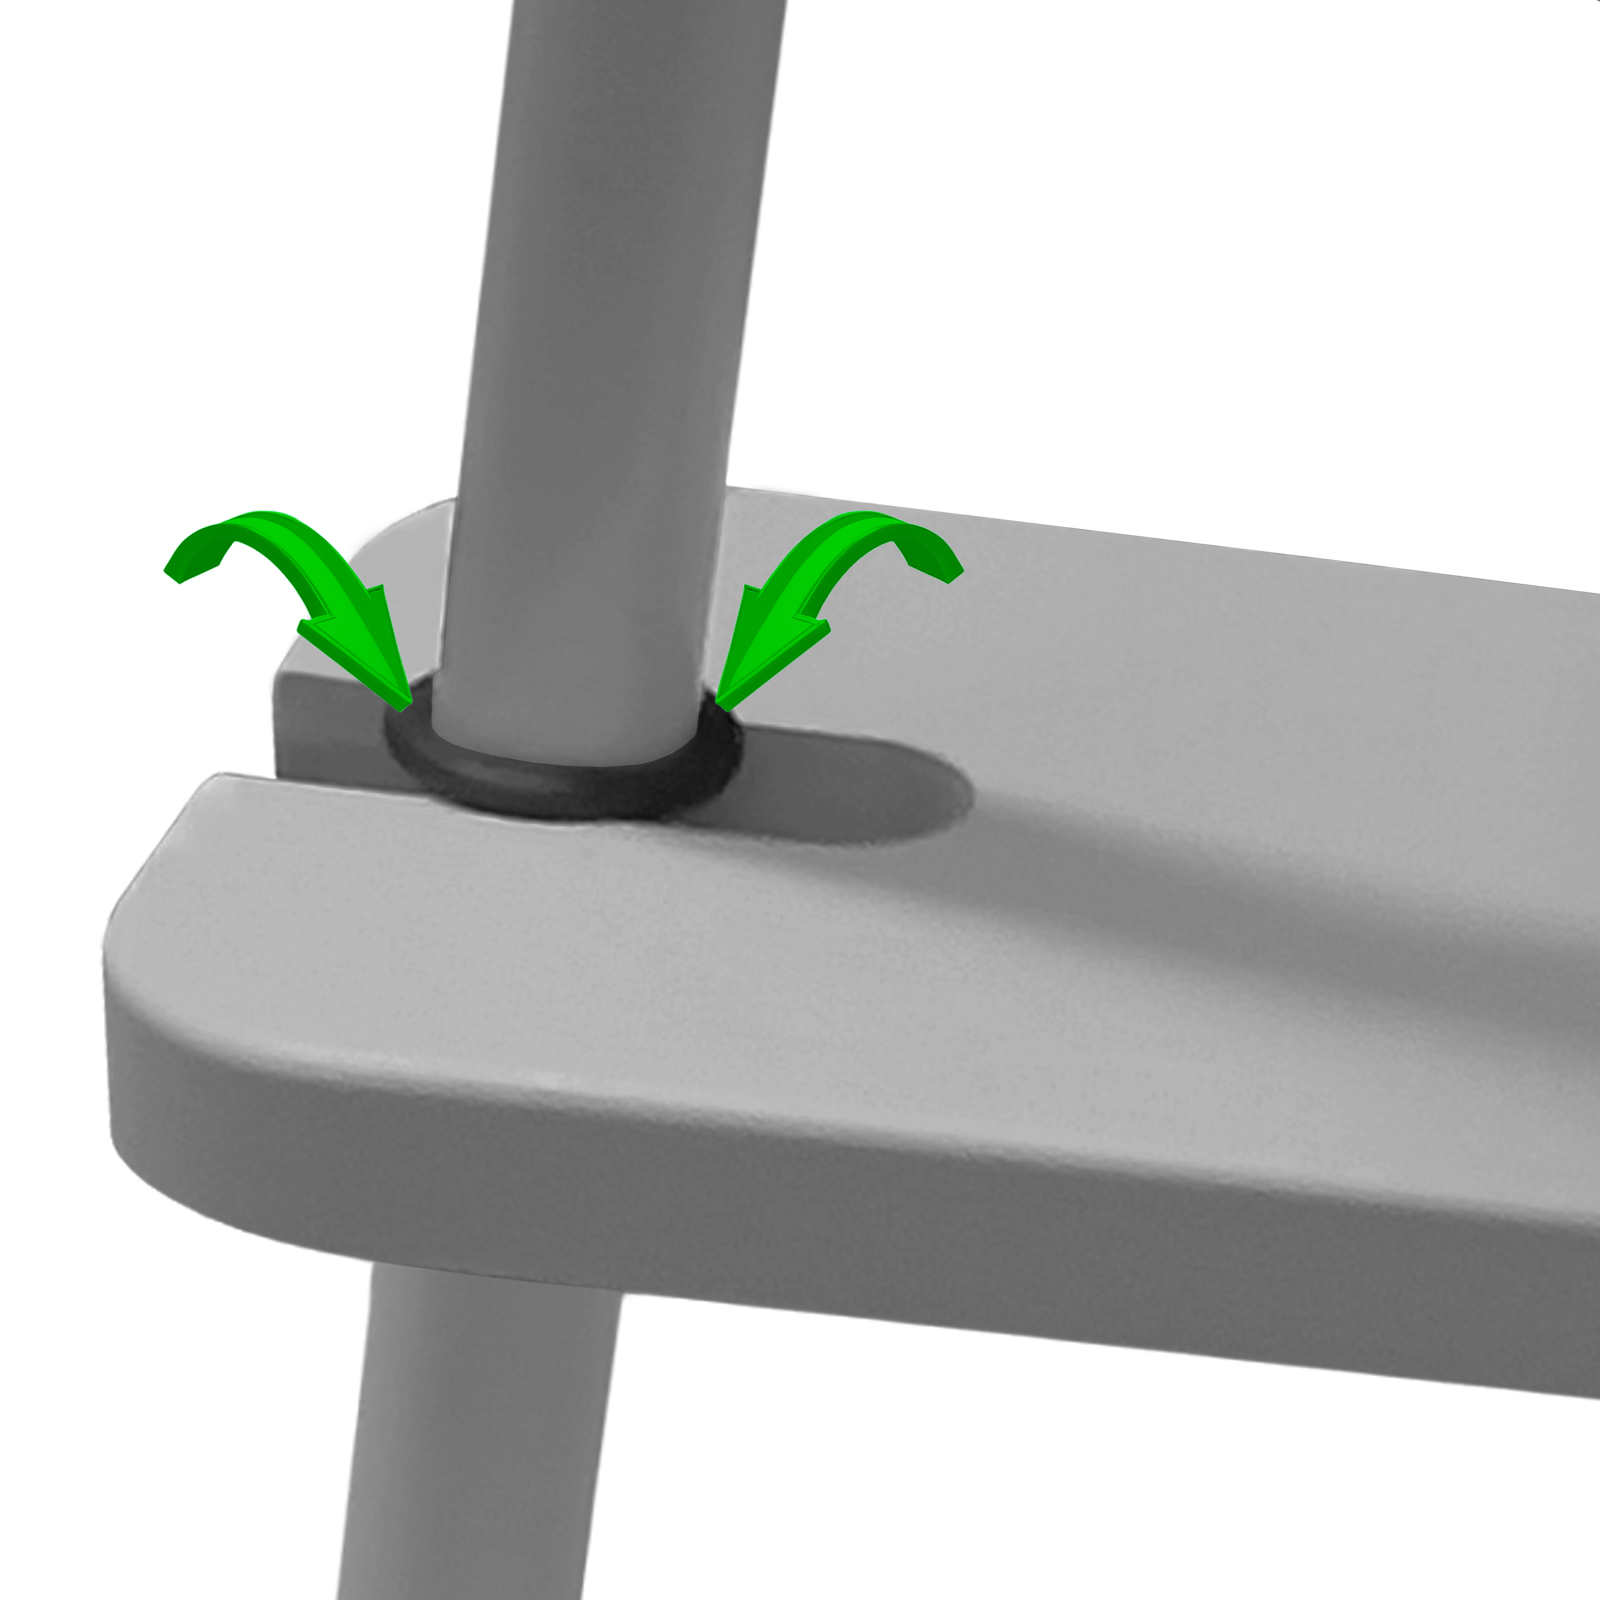
If any part of this product is found to be loose, damaged, or missing, discontinue use immediately.

INSTALLATION GUIDE

STEP 1

Take out all accessories, check the packing list, and confirm that all parts are complete.

installation step 01
installation step 02

STEP 2

Attach and secure the two parts of the footrest using metal plates and screws.

STEP 3

Remove the front legs of the chair and place the rubber ring at the top.

installation step 03
installation step 04

STEP 4

Slide the rubber ring onto the front chair leg.

STEP 5

Repeat the process to install three rubber rings on each of the chair's front legs.

installation step 05
installation step 06

STEP 6

Position the rubber rings to your desired height. Ensure the bottom two rings are touching (as shown above) to provide the necessary friction for board support.

STEP 7

Tilt the footrest and place it between the front legs of the chair. To ensure stability, make sure that the two support rings are installed under the footrest.

installation step 07
installation step 08

STEP 8

Once the chair's front legs are secured in the slots at both ends of the footrest, lower the footrest to a flat position and center it.

STEP 9

Slide the top ring on each front chairleg down and secure it firmly against the footrest.

installation step 09
installation step 10

STEP 10

Finish